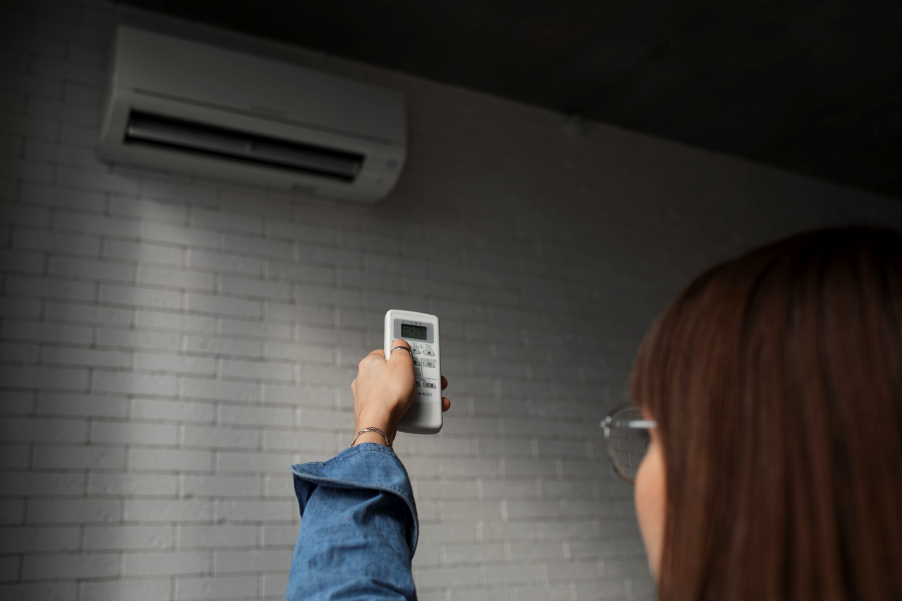
An AC thermostat is an essential part of your air conditioning system, responsible for regulating the temperature in your home. However, over time, your thermostat may become faulty or stop working altogether, leaving you without a way to control your AC. This article will cover AC thermostat replacement, including some tips and tricks for a successful installation.
Step 1: Turn off the power to your air conditioning system
Before beginning any work on your AC thermostat, turning off the power to your air conditioning system is essential. This can typically be done by switching off the circuit breaker for your AC unit. Also, disconnect the thermostat's wiring from your HVAC system as an extra precaution. Locate your system's control board or transformer and disconnect the main power leads.
Step 2: Remove the old thermostat
Once you've turned off the power to your AC, it's time to remove the old thermostat. Typically you can do this by removing the cover plate and unscrewing the thermostat from the wall. You may also need to detach any wires connected to the thermostat, so be sure to take note of how these are connected for later reinstallation.
Step 3: Install the new thermostat
With the old thermostat removed, you can now install the new one. Begin by attaching any wires that need to be connected to your new thermostat, carefully matching each wire to the correct terminal. Then, mount the new thermostat to the wall using screws or adhesive tape, ensuring it's level and secure.
Step 4: Test your new thermostat
Once your new thermostat is installed, it's crucial to test it to ensure it's working correctly. To do this, turn the power to your AC back on and set your new thermostat to your desired temperature. You should hear your HVAC system turn on and begin to cool your home. If everything is working properly, you can breathe a sigh of relief, enjoy your newly installed AC thermostat, and bask in the warm glow of a job well done and money being saved.
Tips for a successful AC thermostat replacement:
Make sure to choose a thermostat that is compatible with your HVAC system. Many different types of thermostats are available, so be sure to read the product specifications carefully before making your purchase.
By noting the make and model number, you can get professional advice when buying air conditioning spares online.
Please take note of the wiring connections on your old thermostat before removing it. A good tip is to take a couple of photos with your phone to remember what goes where. This will make connecting your replacement air conditioning thermostat easier and avoid any wiring errors.
If you're not confident in your DIY skills, then it's always a good idea to consult a licensed HVAC technician before replacing your AC thermostat. They can help you choose the right thermostat for your system and ensure it's installed correctly.
In conclusion, replacing a faulty AC thermostat may seem daunting at first. But, it can be a simple and straightforward process with the right tools and know-how. Following these steps and tips, you can enjoy a comfortable, cool home all summer with your newly installed AC thermostat.


